
Input Guidelines
Everything Brandmachine generates is built from the images you upload. The input sets the ceiling: a sharp, evenly lit photo of a single garment gives the model everything it needs to reproduce the piece faithfully, and a small, dim or cluttered one does not. Nothing later in the pipeline recovers what the input never contained.
These guidelines apply to every garment and product image you upload, in Product Studio, Shot Planner, Campaigns and Designer.
Every input
Resolution. At least 2000 px on the long edge. A phone photo at full quality is enough. Do not use website exports, screenshots or thumbnails.
Resolution decides how much detail survives. A plain white shirt is forgiving. A print, a weave, a stitching detail or a trim is not, and nothing recovers it later. The fidelity of the piece has to hold in every case, which is what makes this the key factor.
Light. Even and neutral. No hard shadows, no direct sun, no colored light. The color in your photo is the color you get back.
Background. Plain and empty.
Faces. None. Crop the head out before uploading. A face pulls the model away from the garment. This applies to garment and product inputs only, uploading a real person as a Fashion Model is a separate flow with its own rules.
Framing. Whole piece, front on, shot from chest height, nothing cut off at the edges.
Files. One garment per file, also when the pieces belong to the same look.
You only get the angles you upload
A perspective decides which angle comes out. An input decides what that angle is built from. A front shot gives you a front view. Ask for a side view without having uploaded one and the model invents the side, which is usually wrong.
So work backwards from your perspectives: for every angle you have configured, upload an input that shows the piece from that angle. Front, back, side and detail shots are separate inputs. The same holds for details, a trim, a label or a hardware close-up only appears in the output if it came in as its own input.
In Product Studio and Shot Planner each input also carries a view type (Front, Back, Other, Cropped) that routes it to the perspectives accepting that type. Tag them correctly, a mistagged input is the usual reason an expected angle never appears. See Product Studio for how perspectives and view types line up.
Three input types, all of them work
Flat lay or packshot
2D flat or 3D ghost. Works, and it is what most brands already have.
Weak point: no proportion. A flat garment carries no information about how big it is or how it falls on a body, so the model has to guess the fit.
On a bust or mannequin
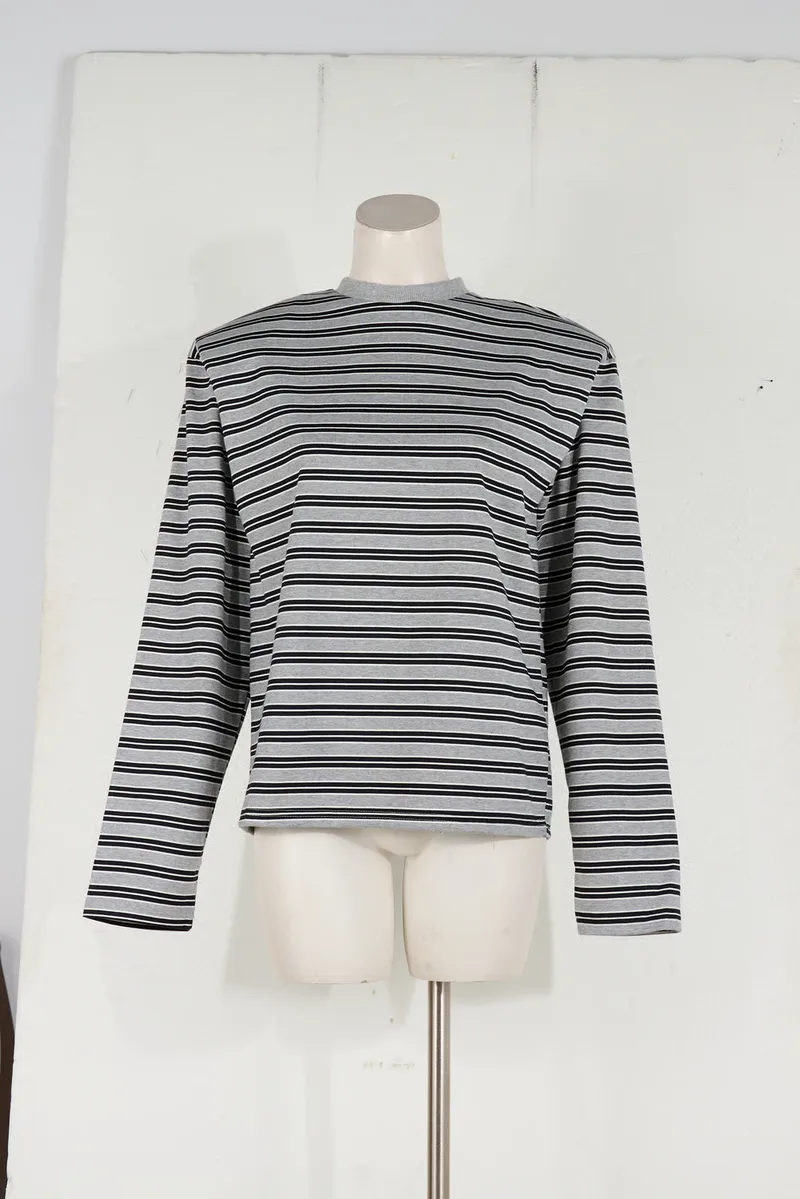
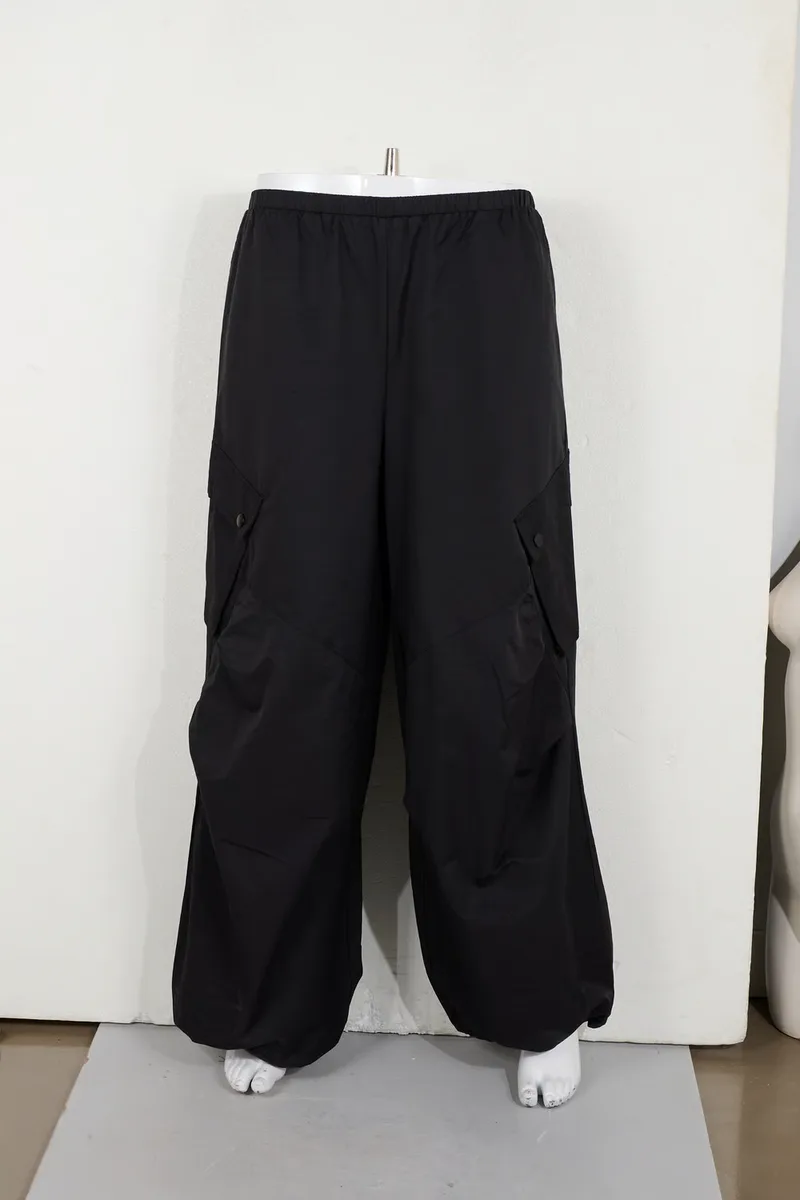
The best ratio of effort to quality. The form gives real proportions: where the shoulder seam sits, sleeve length relative to the body, how the volume falls. No face involved.
On a person, head cropped
The strongest input. A body inside a garment produces real drape and tension, and you control the styling. However you set the piece up on the person is what comes out.
Always crop the head, or at minimum the face.
Examples
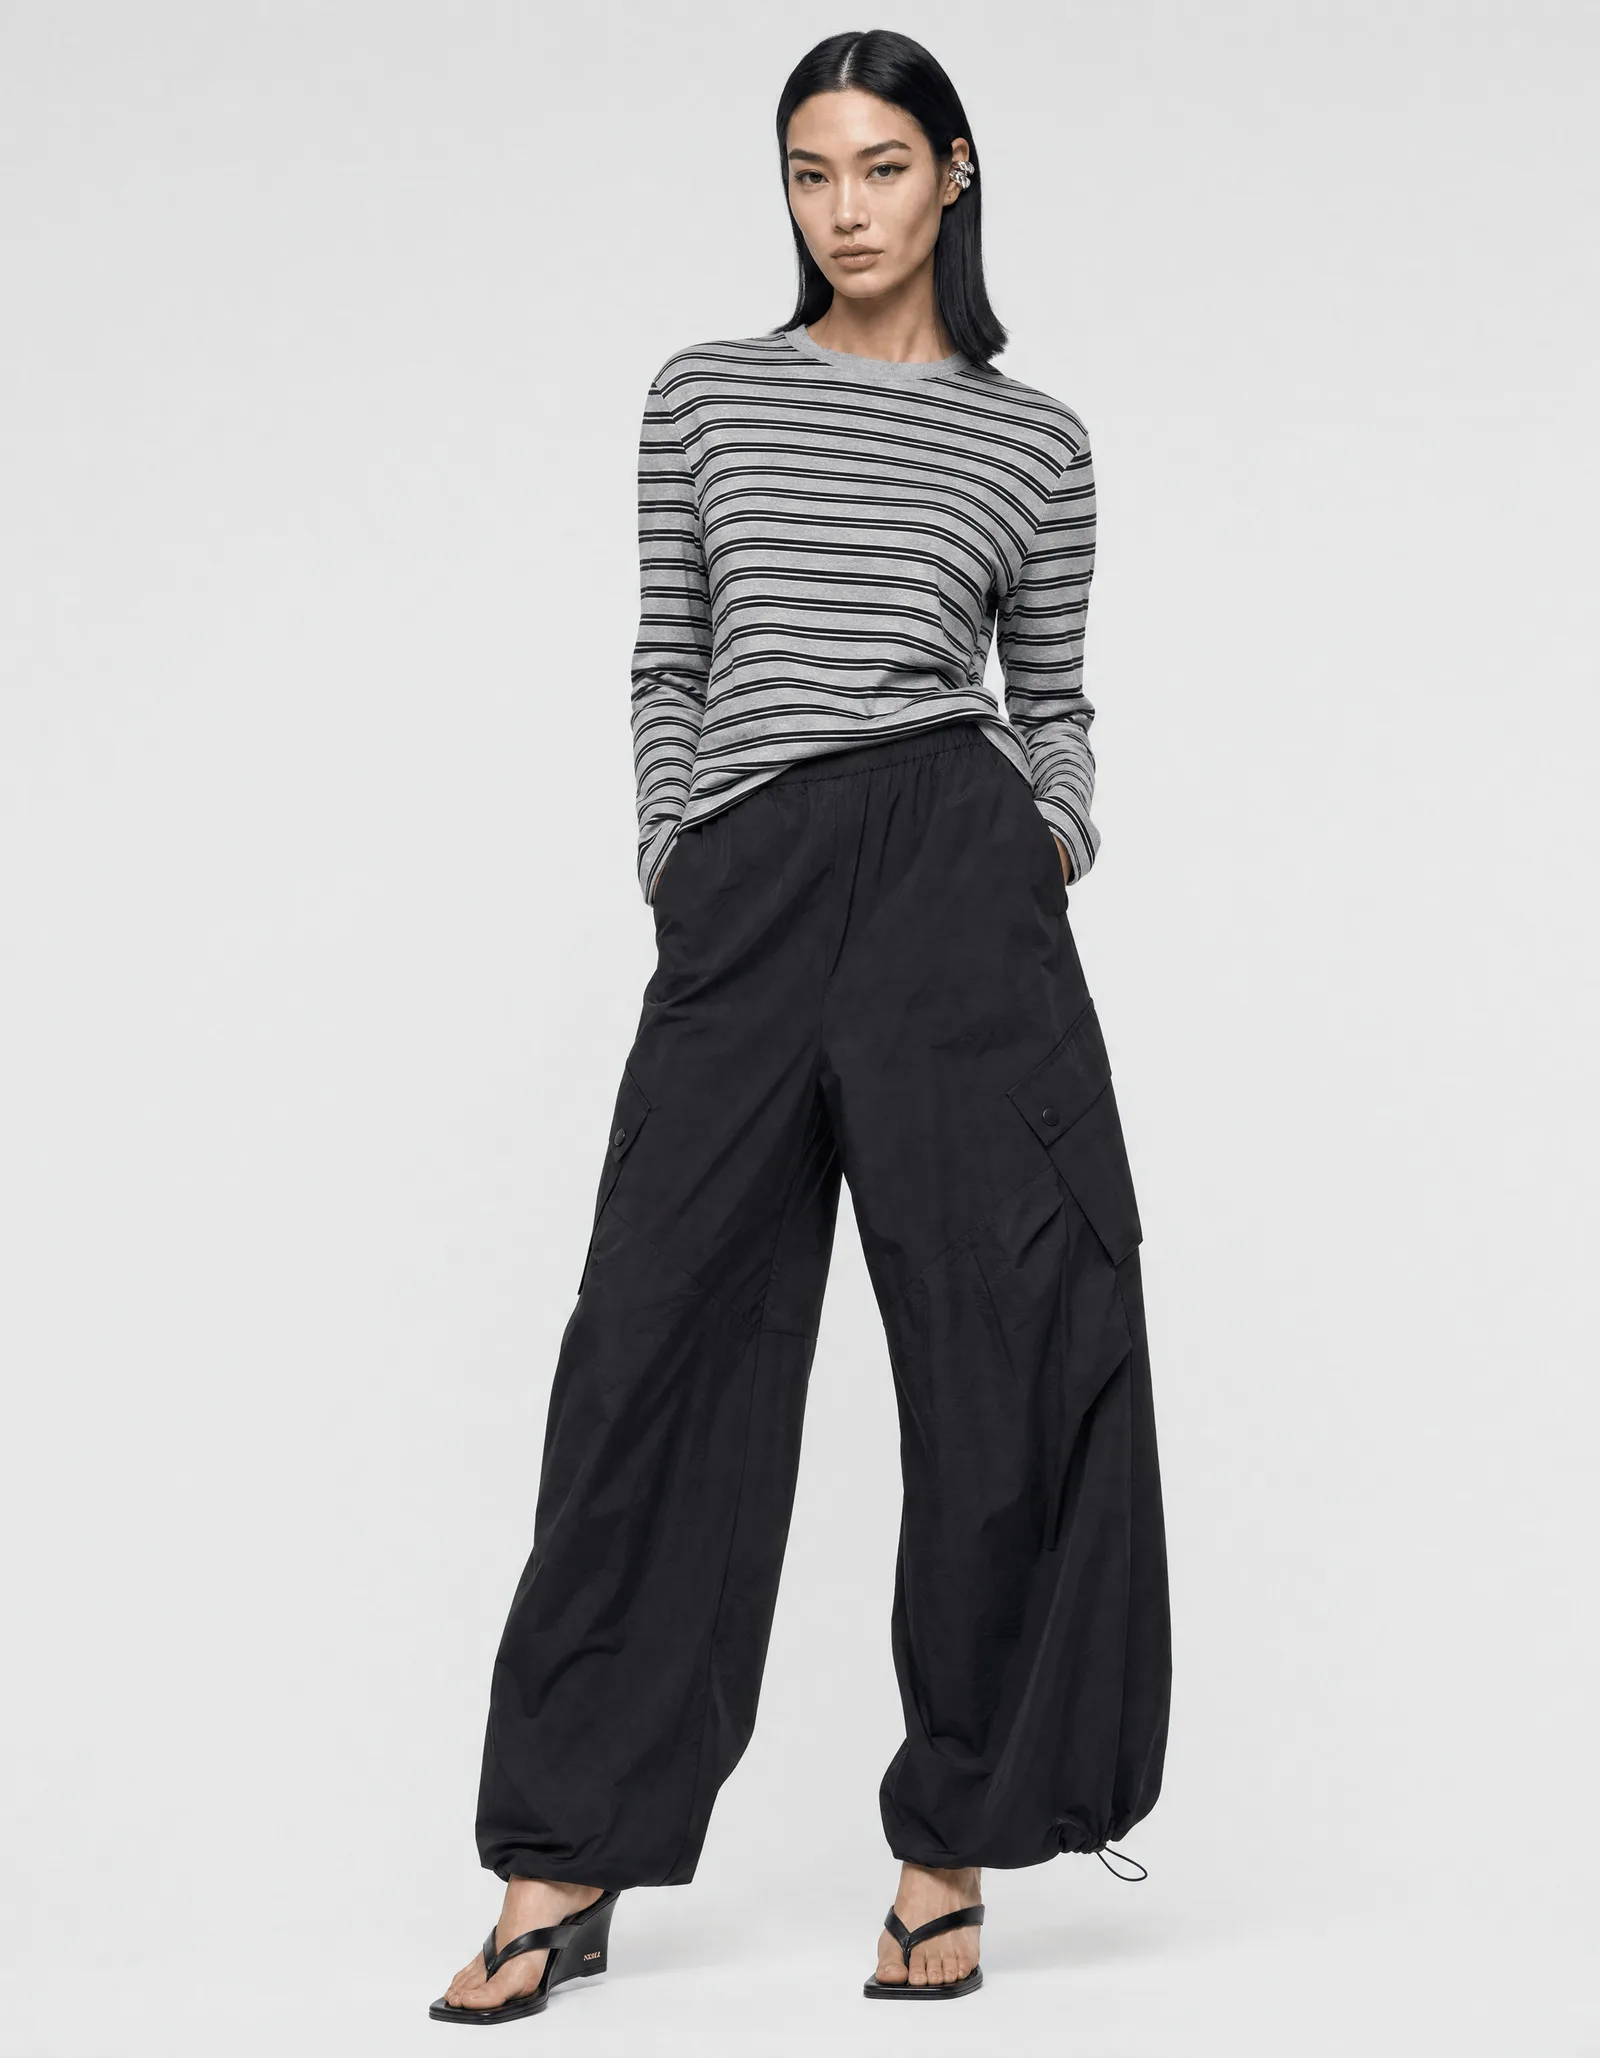
All examples are real inputs and outputs from a Brandmachine customer.
Two mannequin inputs
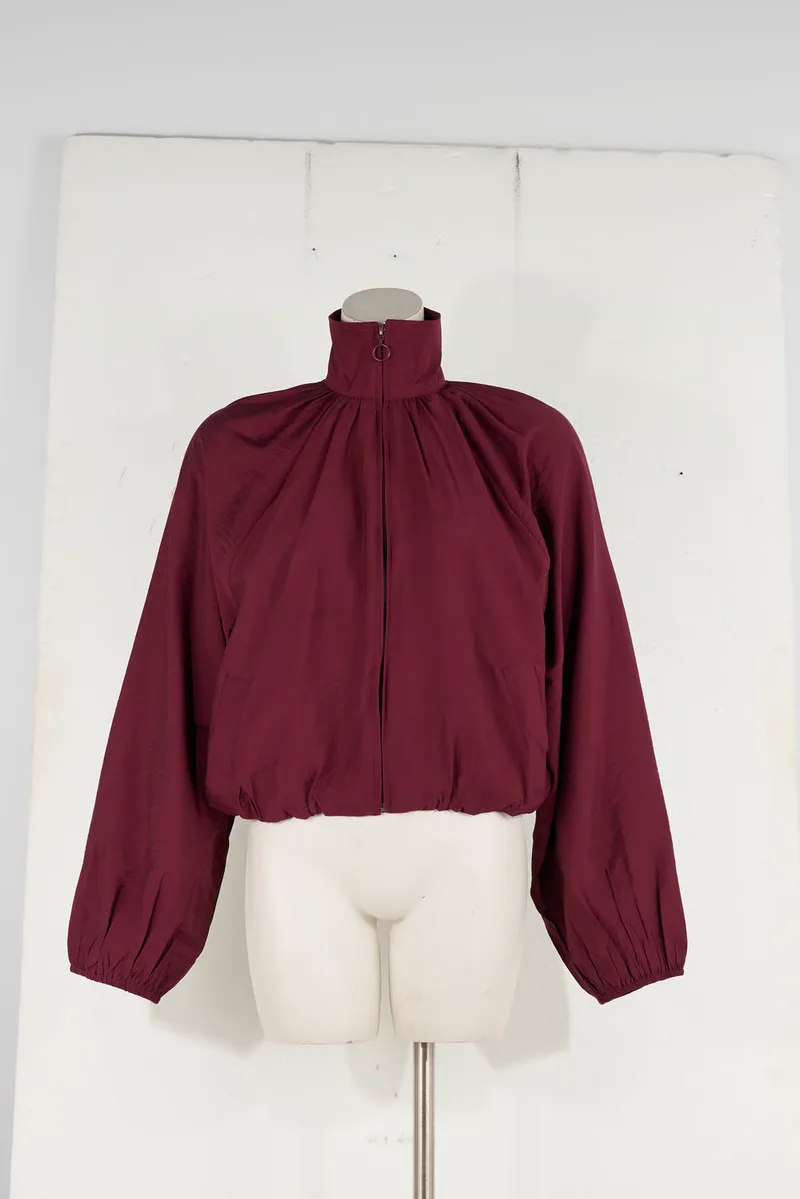
One mannequin input, one flat lay
Input types can be mixed inside a single outfit.
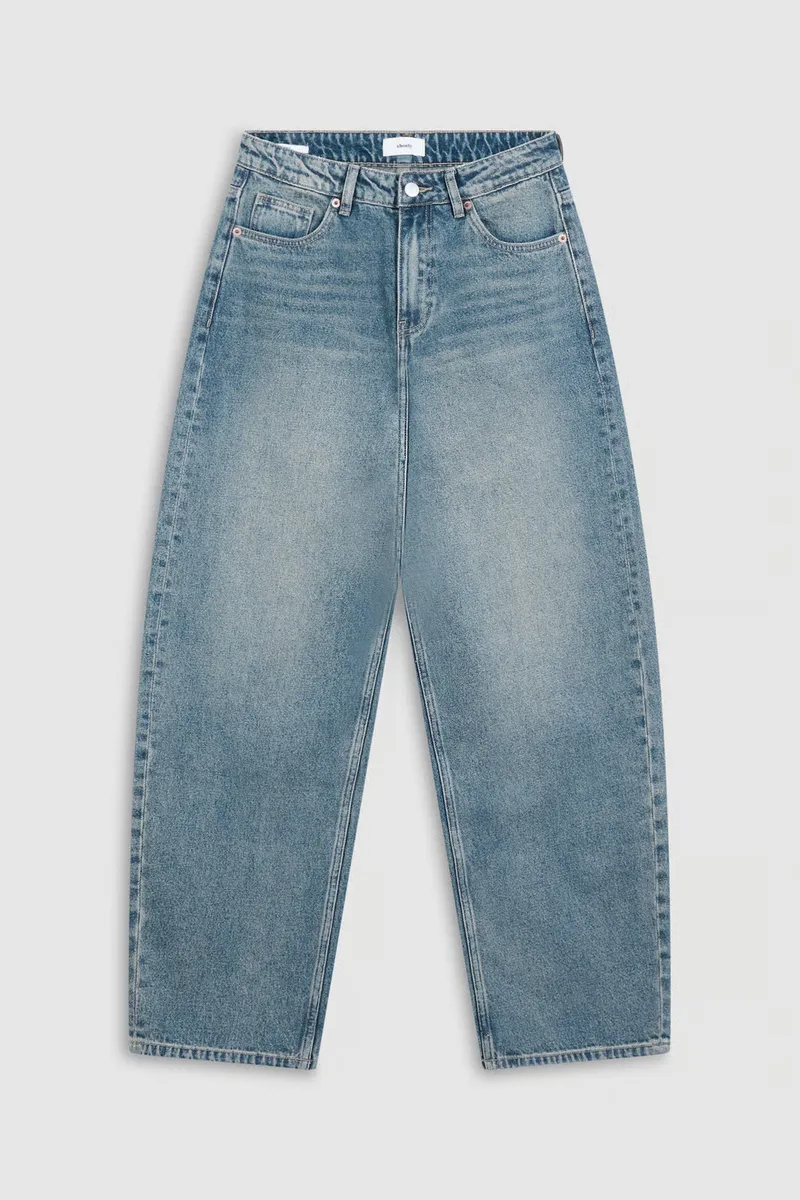
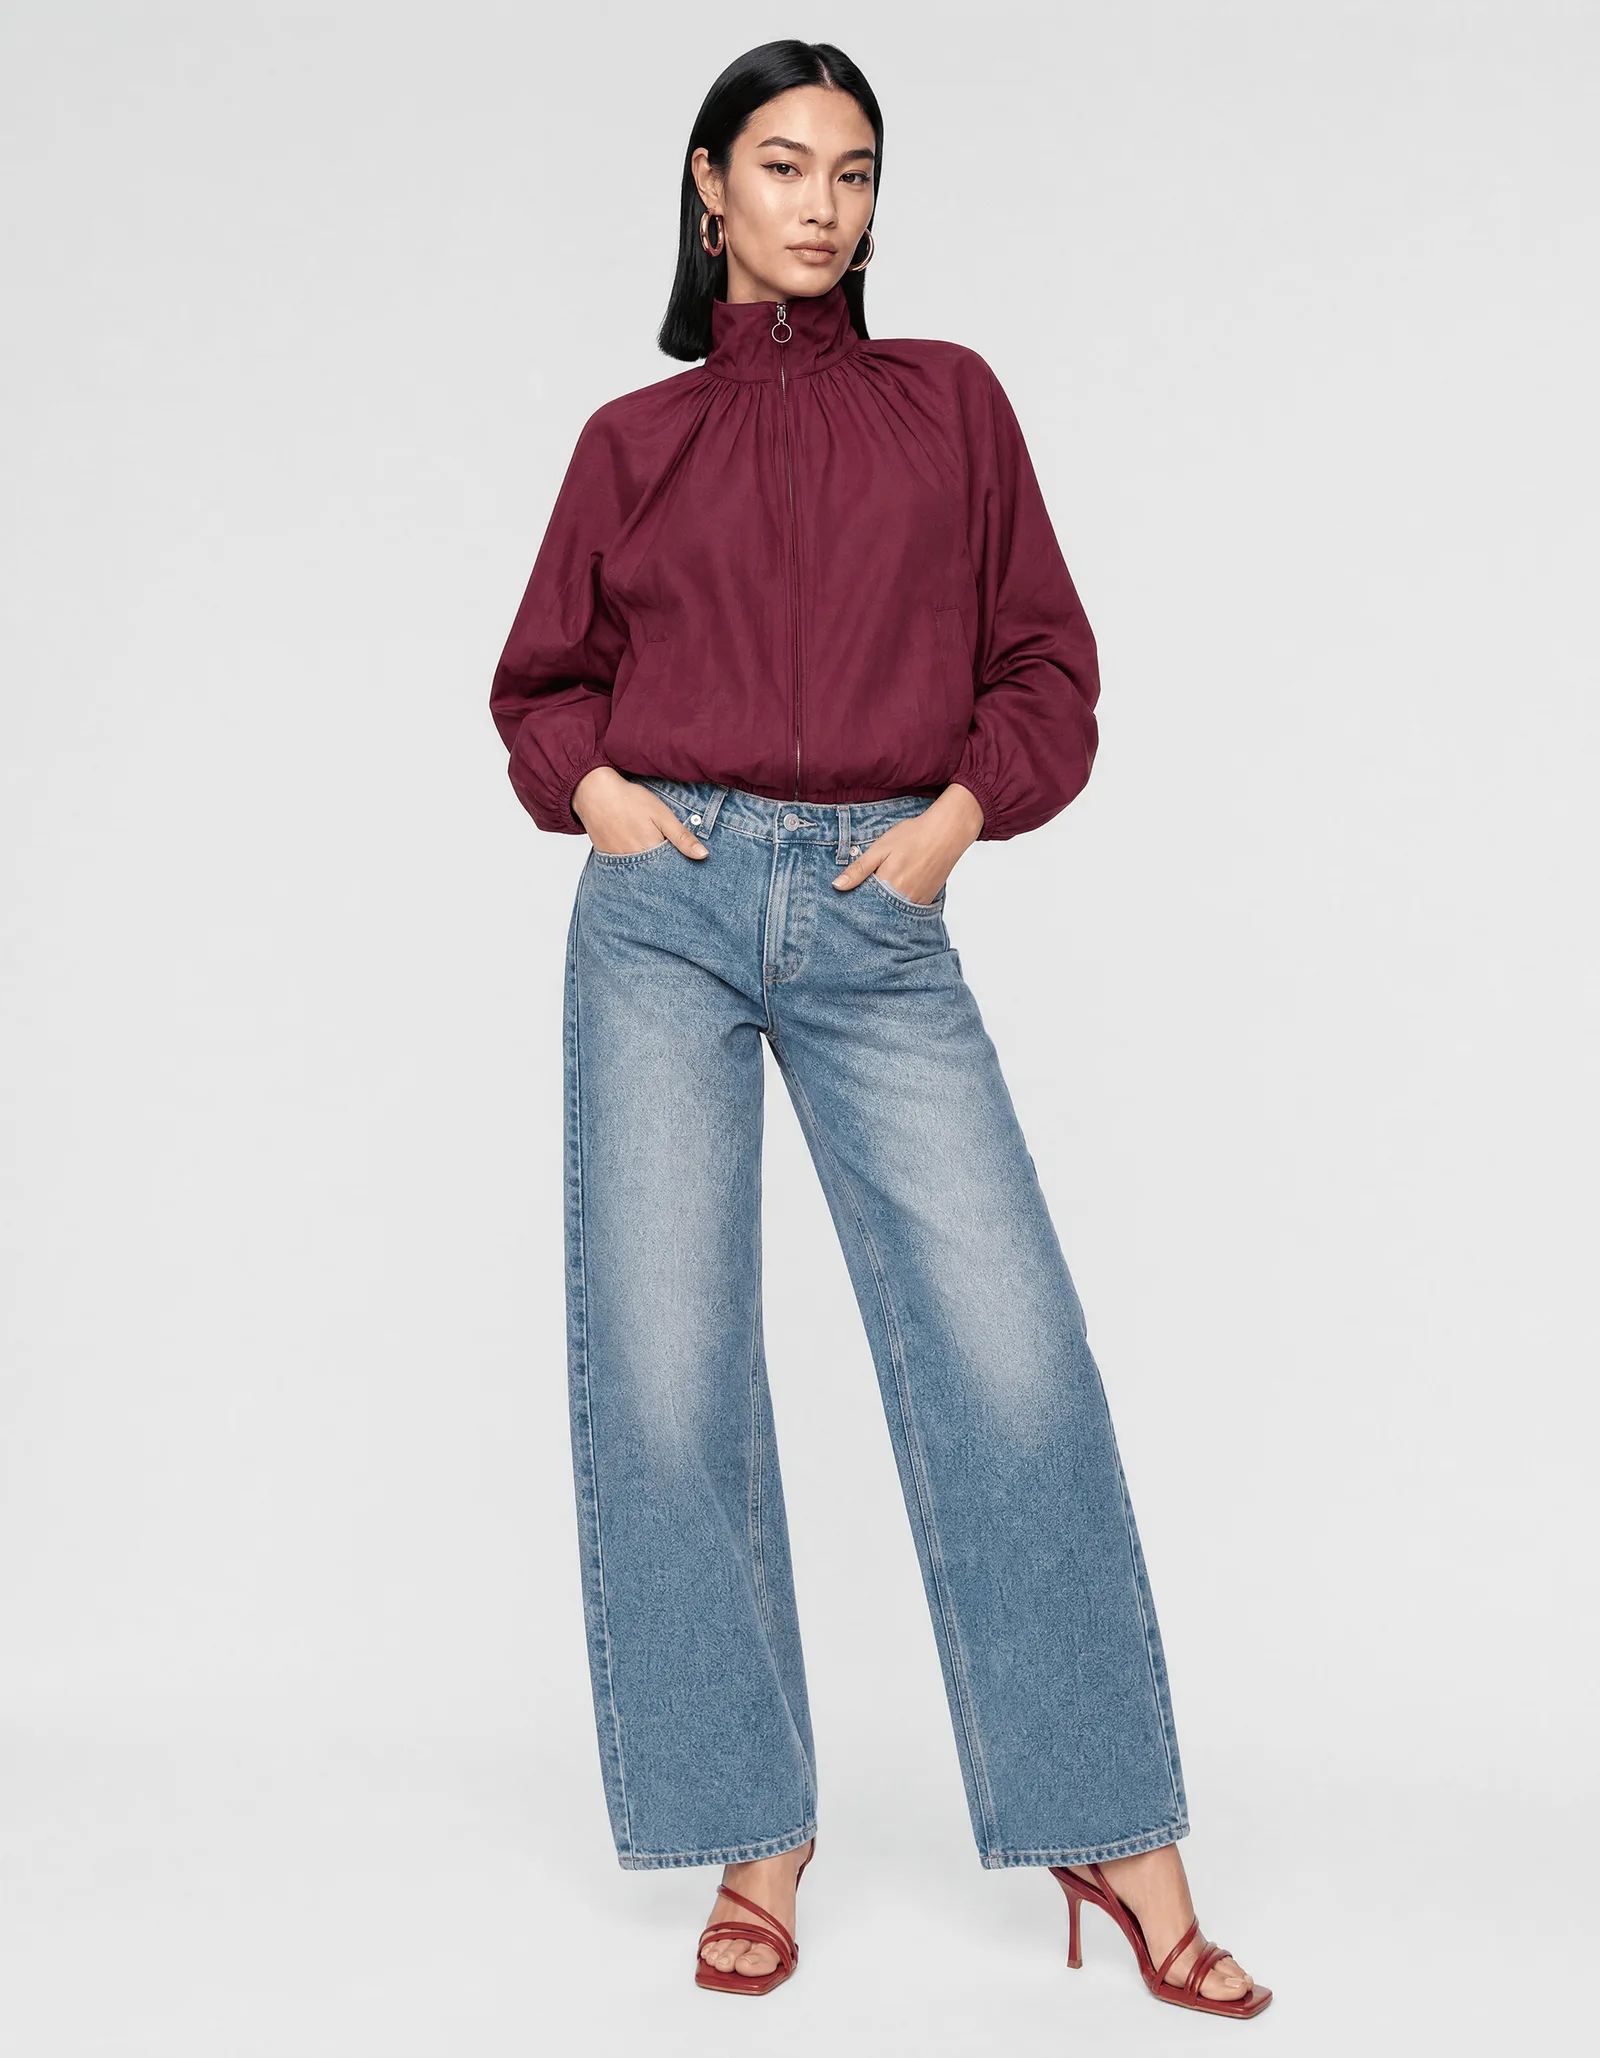
On-person input, packshot output
This customer uses on-person shots for pieces that have no packshot, to generate the packshots still missing for products already in the range.
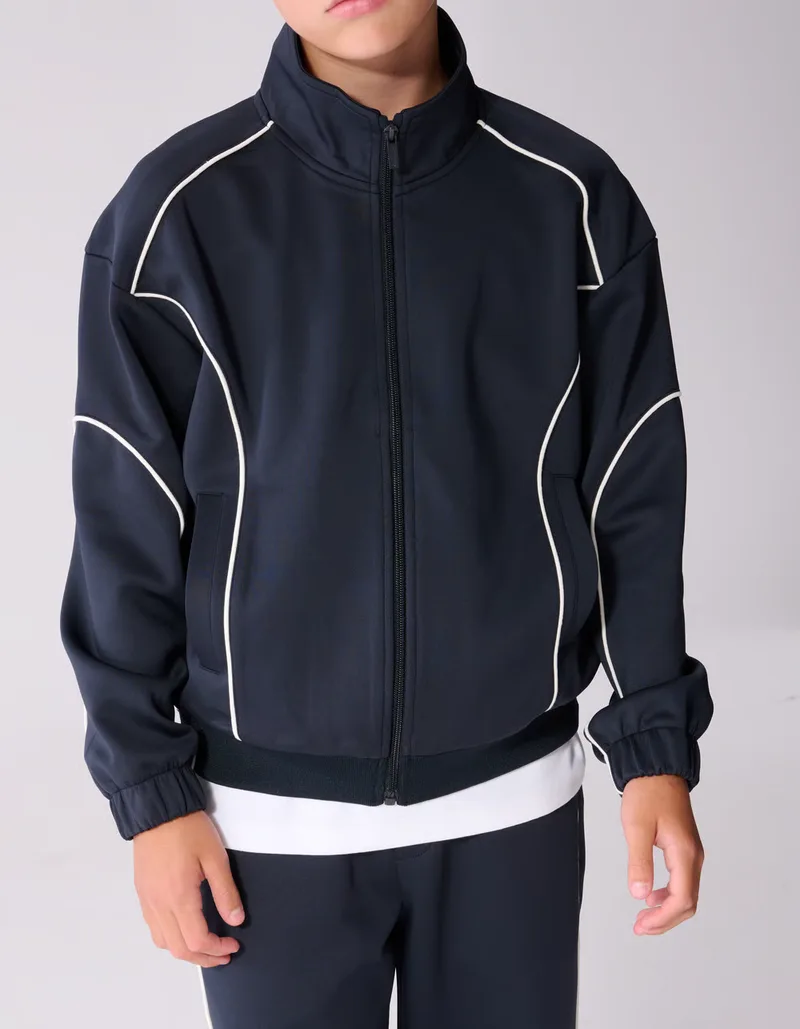
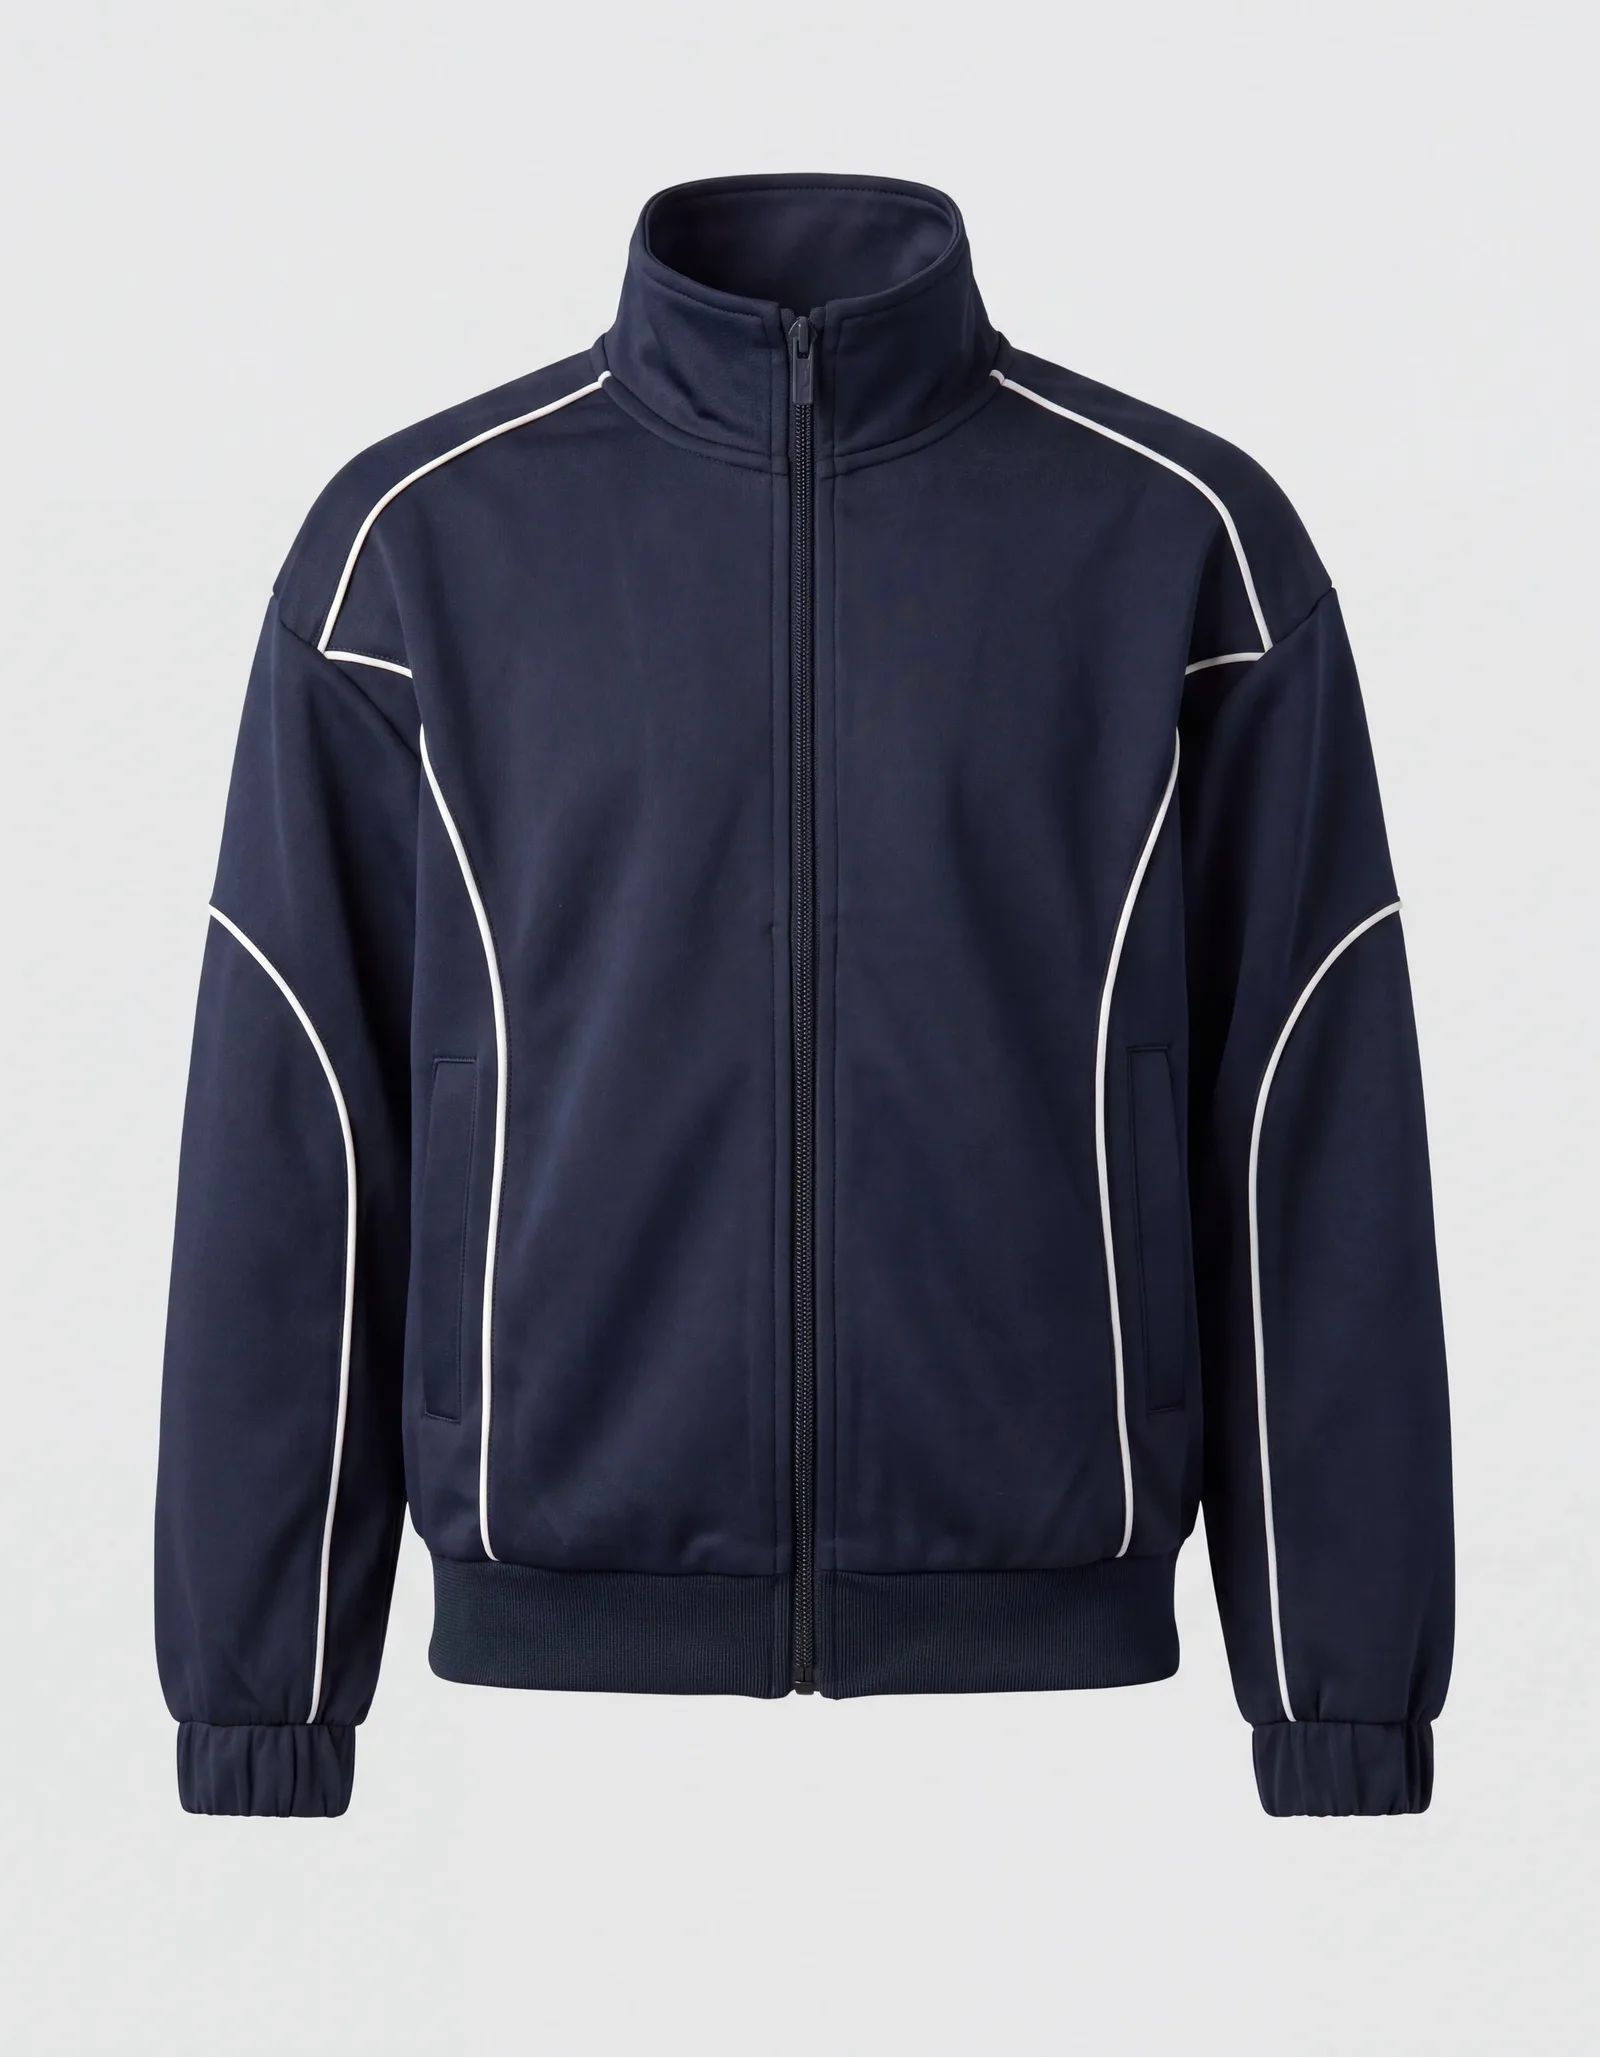
Do not
- Upload an image with a face or head in the frame.
- Upload low resolution or screenshotted images.
- Shoot under warm, colored or directional light.
- Expect an angle you did not upload.
- Expect a detail you did not upload.
- Put several garments in one file.
For further help, contact support@brandmachine.shop.